
Course Layout
Hole 1 - Par 4 - 370 Yards “Empire”
The opening hole at Forest Hill treats the player to a beautiful view of the skyline of New York City with the Empire State Building as the players target line off the tee. Bunkers guard both sides of the fairway in the landing area of the tee shot. A large green, sloping predominately from back left to front right, makes any two-putt this hole a success.
Hole 2 - Par 4 - 392 Yards “Baby Bella”
A terrific par-4 dogleg right with an uphill approach shot forms the second hole. The hole is shaped by a signature fairway bunker about 240 yards from the tee in the left rough where a majestic oak once stood. This traditional Tillinghast green is fully equipped with a false front and undulated tongue in the back that makes for some very treacherous hole locations.
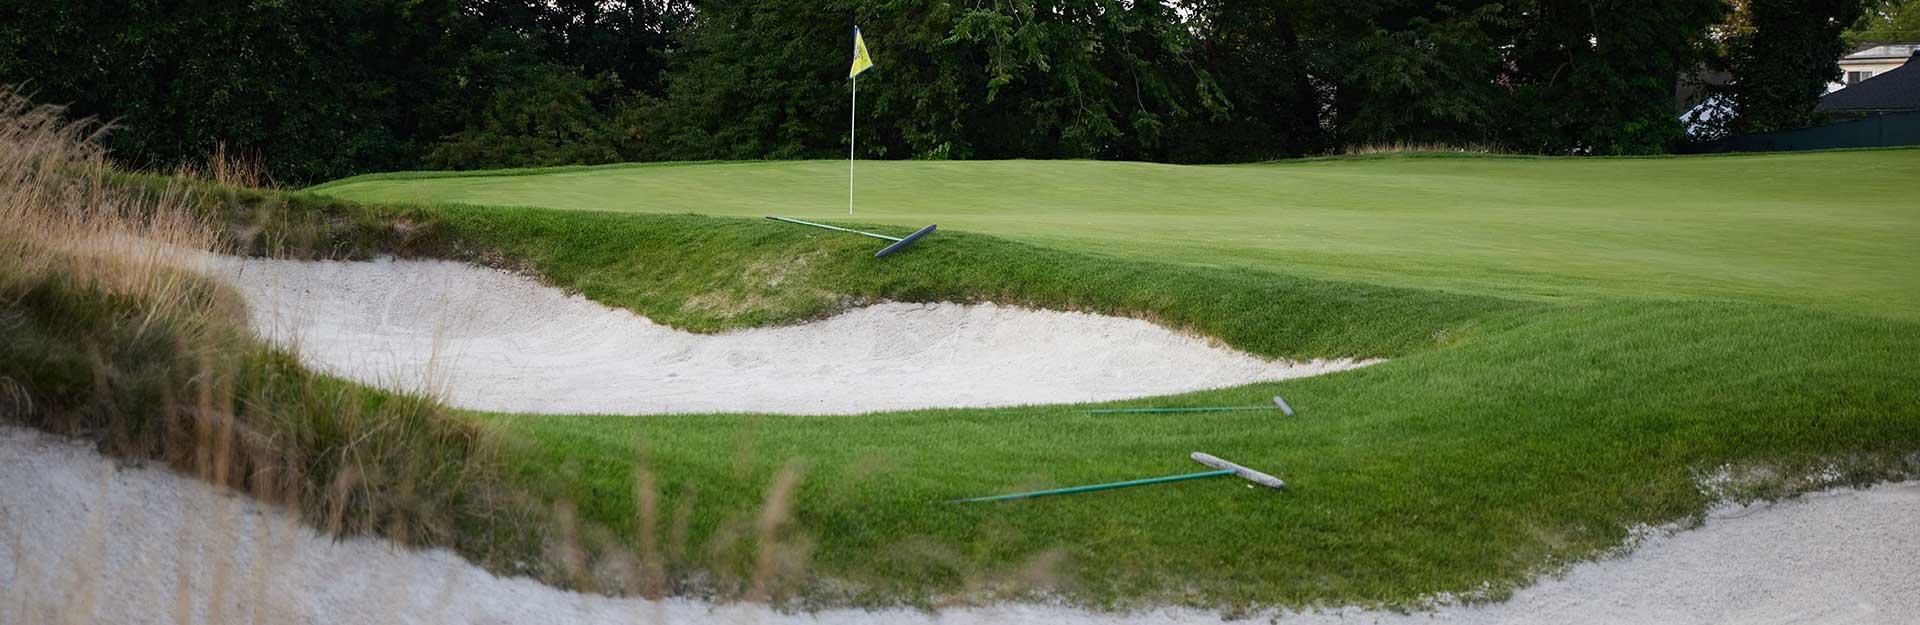
Hole 3 - Par 5 - 512 Yards “Risky Business”
The first of back-to-back par-5s is the definition of a risk-reward hole. It begins with a downhill tee shot that requires accuracy to avoid danger on both sides. With fescue and woods to the left and a pond right, accuracy is key. The second shot is no easy task either. You can risk it and go for the green or lay up. If you decide to play it risky, be aware that the green is defended by a pond to the right and 2 front bunkers.
Hole 4 - Par 5 - 512 Yards “Boneyard”
The second par-5 could be a great scoring opportunity or a scorecard killer. The tee shot can be played straight and safe, or a player can attempt to cut the corner and clear the left fairway bunkers for a shorter second shot. This is no easy feat, as only the longest of hitters can carry them! Multiple bunkers guard the landing area for the second shot. This is a large receptive green with a back tongue that has produced its fair share of three-putts.
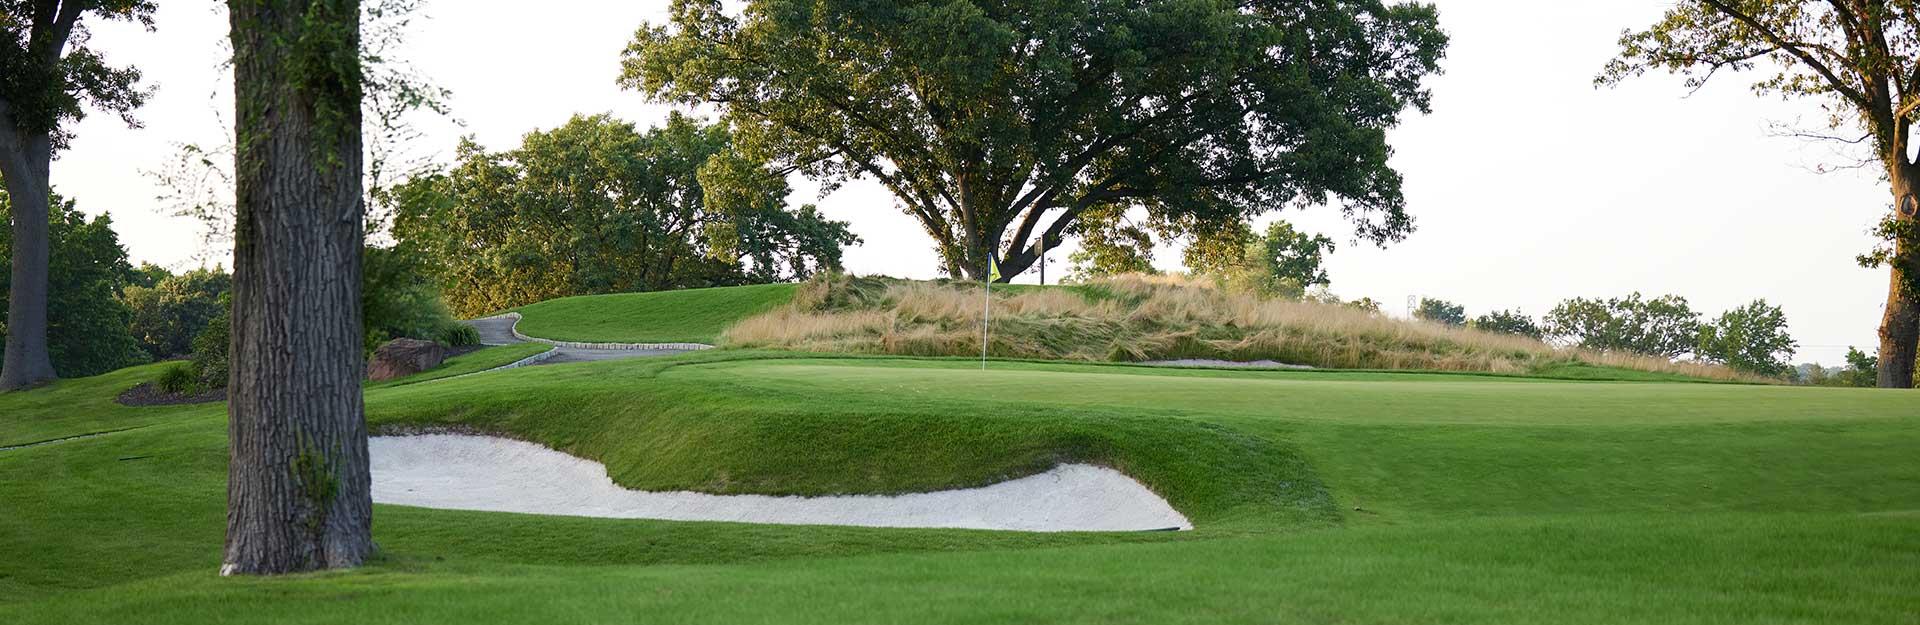
Hole 5 - Par 3 - 168 Yards “Eagle's Lair”
The first par-3 of the round may seem simple at first glance, but it will test even the best shot makers when considering both elevation and wind. The large green is surrounded by bunkers on three sides and has multiple subtle ridges. Don't fly the green either, as it's easy to soar into the creek behind.
Hole 6 - Par 4 - 381 Yards “Bender”
This dog leg right par-4 requires the longer hitters to play a left-to-right shot to hit the fairway off the tee. A pair of well-placed fairway bunkers guard the left side of the hole in the landing zone. This green plays back to front and boasts intimidating bunkers on both sides which can easily creep in the mind of a player when hitting their second shot.
Hole 7 - Par 4 - 416 Yards “Tilly's Terror”
Paying homage to course designer A.W Tillinghast's nickname, "Tilly The Terror," this hole begins the few-hole stretch known as the “gauntlet,” which can easily make or break your round. This long par four plays even longer as the second shot is severely uphill. Tee shots must be hit straight and with some distance to have a chance at the green for most players. The second shot requires both distance and accuracy. The green is elevated and full of subtle breaks with a spine running back to front along the left side.
Hole 8 - Par 3 - 216 Yards “Playground”
The long par-3 boasts a beautiful tee shot with an elevated view of the neighboring holes. The design requires a player to be cautious of the bunker short right and the bunker left of the green, which pinches the opportunity to run a shot up onto the green.
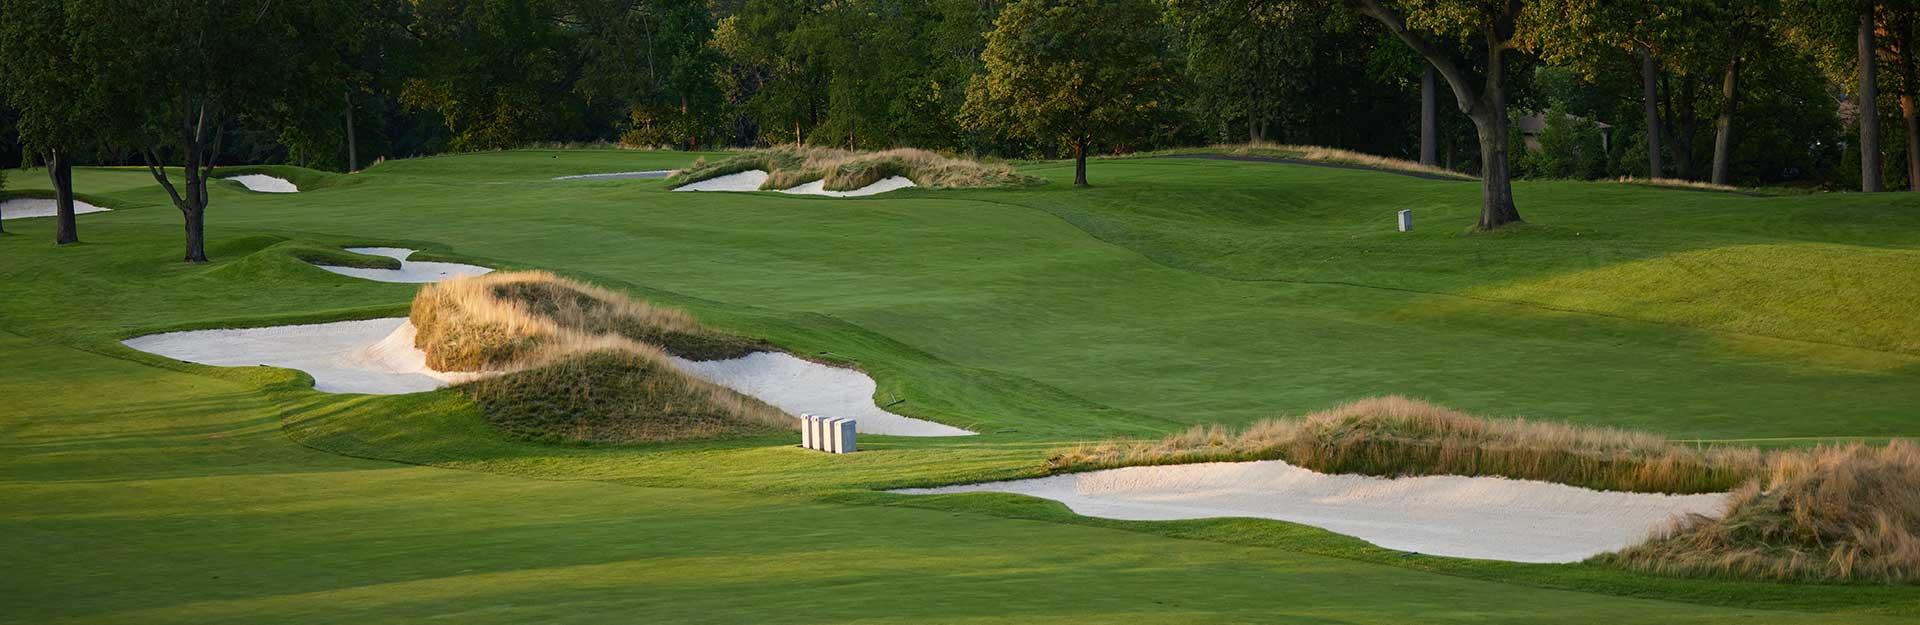
Hole 9 - Par 4 - 403 Yards “Cannonball”
CANNONBALL! This par-4 is straightaway but is one of the tightest tee shots of the round. With the FHFC Pool to the left and a series of three fairway bunkers extending in the landing area in the right rough, this tee shot is difficult, to say the least. Aim at the pool and bring it back right as the fairway naturally slides that way. The green is a true Tillinghast masterpiece with a false front and plenty of character in all four quadrants.
Hole 10 - Par 4 - 370 Yards “Asylum”
Don't be distracted by the old Overbrook Asylum in the background. Your first shot on the back nine requires accuracy off an elevated tee with out-of-bounds right and trees left, or you might just go insane. The second shot necessitates players to avoid the greenside bunkers on the left and right of the green. This large green features multiple raised mounds framing the backside of the putting surface.
Hole 11- Par 4 - 375 Yards “Owl's Revenge”
What many consider to be the most challenging hole on the golf course, the par-4 plays severely uphill for both the tee shot and the approach shot. The tee shot requires distance and accuracy, with a tight fairway and treelines on both sides. Even if the player reaches the green in regulation, get ready for what is on of the more challenging greens on the course.
Hole 12 - Par 4 - 311 Yards “La Dolce Vita"
The twelfth hole is a true risk-reward par-4. At only 311 yards, the biggest of hitters can try to drive the green. What they risk is coming up short in the closely mown massive trench that spans the width of the hole just short of the green. Play it safe off the tee and have a wedge in to the green, but the approach shot is no easy task with bunkers left, right and deep to go along with the trench in front. Let's not mention that it is the smallest green depth on the course.
Hole 13 - Par 4 - 451 Yards “Blast Away”
Standing from the elevated tee is perhaps the best view on the property. The downhill, dog leg right par-4, requires players to blast their drive but keep it accurate. Players must have enough distance to make it past the tree lined right rough to have a look at the green for their second shot. Don't be spooked by the pond looming to the right. Players must also hit it straight to avoid several fairway bunkers along the left as well. From there the player must hit a long approach to a green with multiple ridges that runs front to back.
Hole 14 - Par 5 - 502 Yards “Fox Trot”
The lone par-5 on the back nine plays uphill most of the way. The tee shot requires players to be straight with the danger of intimidating fairway bunkers left and a pond right. The second shot is played up the hill with a fairway that is pitched from right to left. The green is reachable for the longer hitters. However, it is surrounded by multiple bunkers and slopes severely from right to left.
Hole 15 - Par 4 - 387 Yards “Little Poison”
“Little Poison” got its name from Craig Wood’s former assistant here at FHFC, Paul Runyan. Unlike the Bomber, Little Poison wasn’t a big hitter but what he lacked in distance he more than made up for with short-game prowess. The narrow par-4 plays straightway but requires precision off the tee. Players will try to avoid the intimidating bunkers left and tree line on both sides of the fairway. The approach shot is protected by bunkers both short right and left of the green. This green is slopped back to front with a subtle ridge in the middle that makes even the shortest putts a challenge.
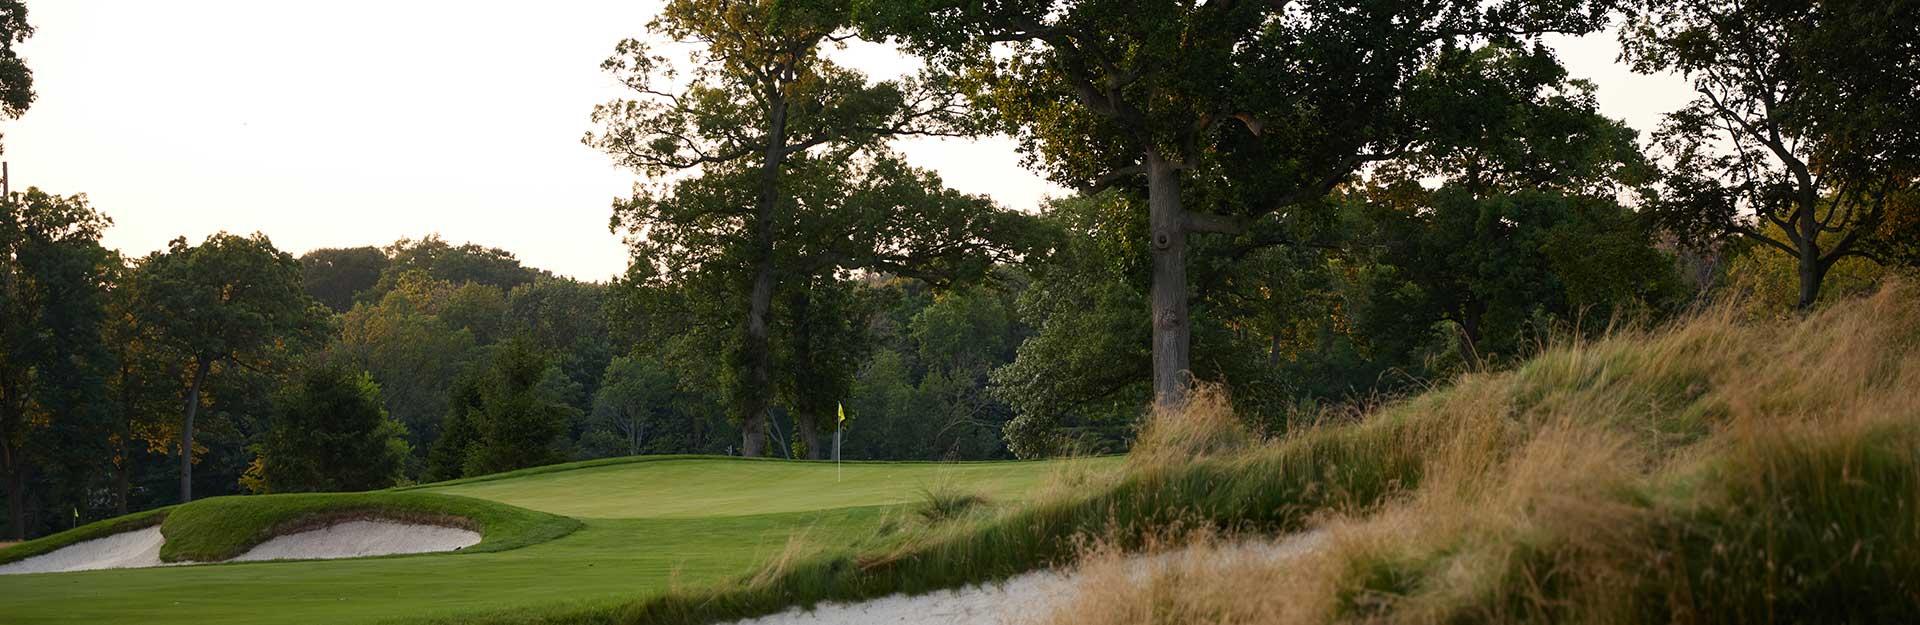
Hole 16 - Par 3 - 176 Yards “Cliffhanger”
Deep bunkers guard the approach on both sides of this medium-length par-3. Tee shots to the delicately sloped green must carry a dramatic false front that demands well-struck shots and proper club selection. The elevated putting surface will challenge even the best short game. Enjoy a cliffside ride after your shot to the green and next tee box.
Hole 17 - Par 4 - 447 Yards “Blonde Bomber”
The “Blonde Bomber” 17th is appropriately named after former FHFC Head Golf Professional Craig Wood. The bomber was known for his prodigious drives, and players will certainly need one to reach the green in two. This hole is the longest par-4 on the card. This is the only tee shot on the course where the player cannot see the landing zone. The second shot requires a player to have both accuracy and distance as most will have at least a longer iron in their hands. This green is surrounded by bunkers and closely mown areas and is what many consider to be one of the trickier greens on the course.
Hole 18 - Par 3 - 206 Yards “Last Call”
The finishing hole is a par-3 built for dramatic finishes. With a natural amphitheater setting surrounding the green, many rounds have concluded with spectators looking on. The tee shot is played uphill to an elevated green, requiring a player to gauge the best club to reach the plateau while still holding the green. The green slopes severely from back to front making a two-putt par a huge success for even the most accomplished players.
